Getting Started with the Privacy Cockpit
Organisation" Menu & Client Administration: This article provides a framework to guide you through the configuration and use of your EQS Privacy Cockpit.
General Information
The order presented in this article is generally the most logical. However, depending on your organization’s structure and size, a slightly different sequence may be more appropriate.
- Step 1: Complete the information about your entity
- Step 2 : Should a DPO be Appointed?
- Step 3 : Create Users
- Step 4 : Assign Roles to Users
- Step 5 : Create Divisions and Assign Users
- Step 6 : Create Repositories
- Step 7 : Create Processing Activities
- Step 8 : Generate a Record
Some steps include a link to a more detailed article.
Always start by completing the information of your entity.
-
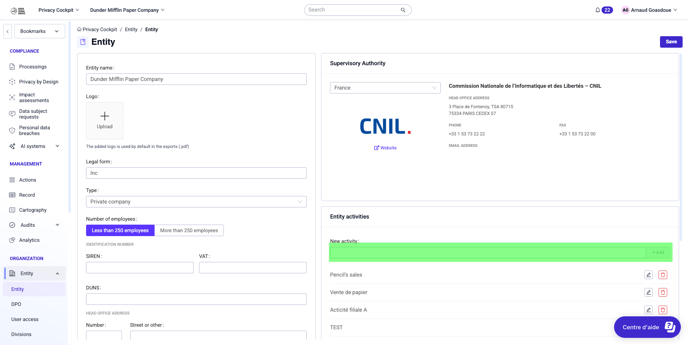
In the sidebar, click on Entity, then select the Entity module.
-
Complete the form.

- If your entity carries out multiple activities, add them one by one in the New Activity field. You will then be able to generate a separate record for each.

Step 2: Should a DPO be appointed?
Not all legal entities are required to appoint a Data Protection Officer (DPO). This questionnaire, with a few questions and reminders on GDPR rules, will help you make an informed decision.
-
In the sidebar, click on Entity > DPO

-
Complete the questionnaire.
-
If you appoint a DPO, enter their contact details.

Step 3: Create Users
Users of the Privacy Cockpit are created in the back office.
-
To access the back office, select Client Administration from the product switch menu in the top left corner.

2. In the Client Administration menu, select Users.

See also: Setting up users and roles
Step 4: Assign Roles to Users
A user must have at least one role to access the Privacy Cockpit. A role is a set of permissions allowing a user to perform specific tasks in one or more entities, such as creating or editing processing activities, managing repositories, etc. The Privacy Cockpit comes with six predefined roles. You can use them as-is, edit them, or create your own.
-
From the product switch menu in the top left corner, go to Client Administration

-
From the Client Administration menu :
-
Select Roles to create or edit roles.

-
Select Permissions to assign roles to users.

-
See also: Setting up users and roles
Step 5: Create Divisions and Assign Users
Divisions allow you to restrict user access to certain processing activities. Users and processing activities are assigned to one or more Divisions. When a user and a processing activity are assigned to the same Division, the user gains access to that activity (the type of access—add, update, delete, etc.—will depend on the user's permissions).
The permission "Access Processings from all divisions" grants a user visibility into all processing activities, regardless of their Division assignment.
Once you have created or activated a Division, you can assign users to it. Later, when creating your processing activities, you can also link them to these Divisions.
-
In the sidebar, click on Entity > Divisions.

Learn more:
Step 6: Create Repositories
Repositories store information about sites, services, contacts, domains, third parties, and software. These elements can later be easily retrieved and associated with processing activities.
All repositories follow the same principle, though the amount of data you can input varies. For instance, the software repository contains multiple tabs with detailed fields, whereas creating a domain requires only a name.
-
Services, contacts, and domains must be added to their respective repositories before creating processing activities.
-
Sites, third parties, and software can be added during processing activity creation, though it is more efficient to pre-fill them in the repositories.
-
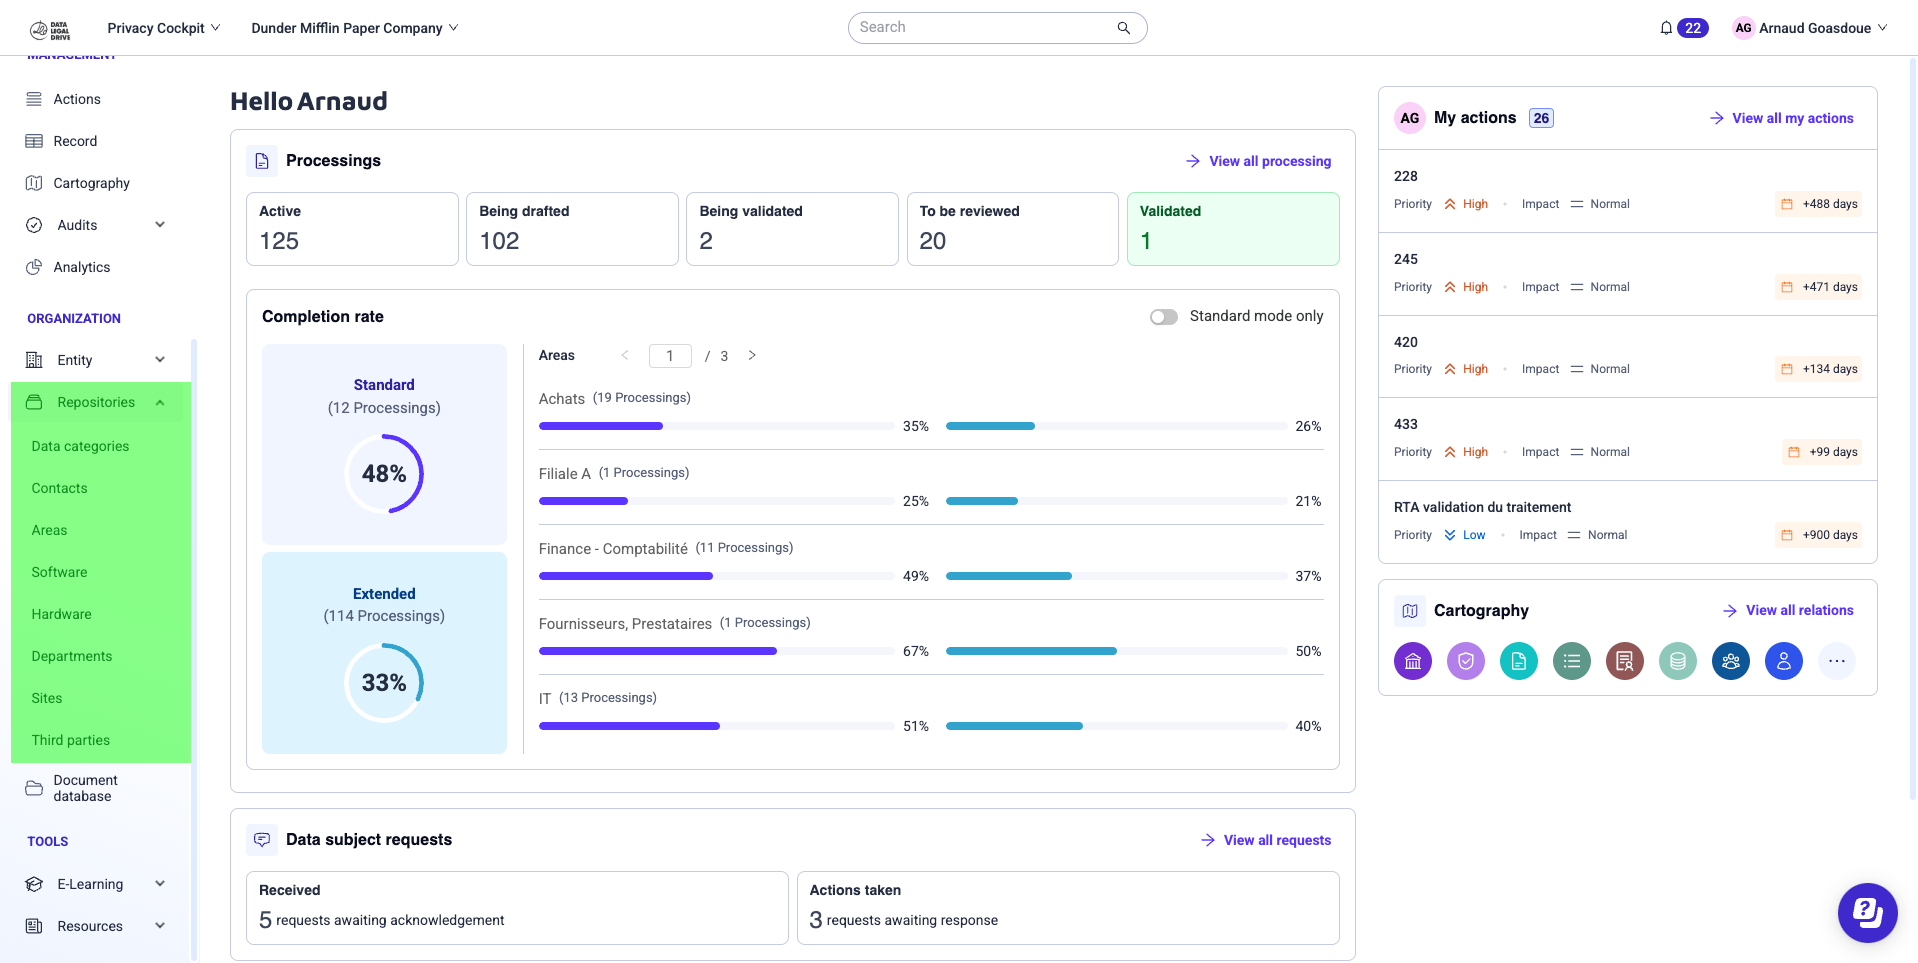
In the sidebar, click on Repositories and select one.

Step 7: Create Processing Activities
Processing activities are central to GDPR compliance. The interface helps ensure your activities are aligned with the regulation.
The Privacy Cockpit includes a range of predefined processing activities tailored to your sector. To edit them, you must first activate them (inactive processing activities do not appear in the record).
You can also create your own processing activities.
If you specified multiple activities when creating your legal entity (Step 1), they will appear in the Identification section of the processing activity, under Activity within the entity (this information is not available in standard mode). Selecting one of these activities enables you to generate a separate record for each.
-
In the sidebar, click on Processing Activities.

Your record is designed to show why and how personal data is processed by your entity.
- You can filter the record by:
- Controller/Processor status
- Mode (Standard/Extended)
- Domain(s)
- Status(es)
- Time period
- Activity (if your entity has multiple activities)
You can also generate a multi-entity record, providing a consolidated view across all your records and allowing you to download them at once.
In the sidebar, click on Record
You can export the record in PDF or Excel format