Share a questionnaire
After publishing a questionnaire, you can add it to a survey, share it, and track the status of recipients' responses.
In this article
Prerequisite: Have access to the Campaigns page.
Create a survey
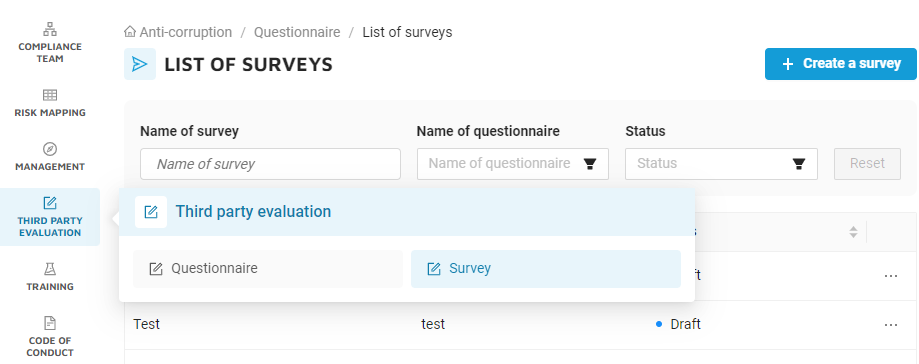
Path: Third party evaluation > Survey > Create a survey

- Give a title to the survey, then click Create.
- In the Settings section, select a questionnaire.
Add and remove recipients.
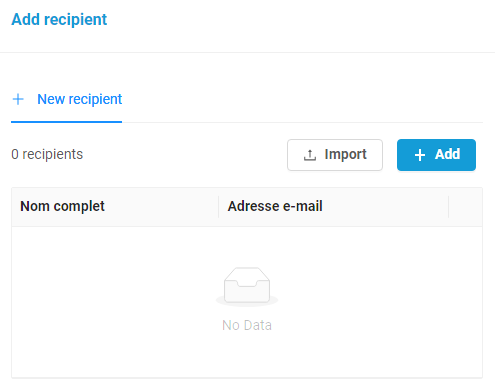
- In the Recipients section, click Add Recipient.
- According to your needs:
- Click Import to import a .csv or .xlsx file.
- Click Add to fill in the name and email address of the recipient.
- Click Validate.

Tip: We offer import file templates. To download them, click on .cvs template or .xlsx template.
Once you have validated the recipients, they appear in the Recipients section.
- To remove a recipient, click Remove.
Customize a survey
Customize questionnaires and the email notifications received by recipients.

| Items | Description |
| Logo | Import the company logo. It appears on the notification email and the questionnaire. |
| Title displayed | Fill in this field to display recipients a title different from the one you see on the GDPR software. |
| Description displayed | Tell recipients why you want them to complete the survey. |
| Subject line |
The email subject line is the first thing recipients read. It should describe the content of the email briefly and explicitly. |
| Email address of the sender |
By default, the email address of the sender is noreply@datalegaldrive.com. Reassure the recipients and fill in an email address of your company. Warning: To avoid your emails from going to spam, contact the CSM team to set up your system. |
| Message | Write the email invitation the recipient will receive. |
Send a survey
Before sending the survey, make sure you add recipients and customize it.
Path: Third party evaluation > Survey > Select a survey > Start Audit
Once you have sent the survey, you will receive a notification to confirm your action.
Now, track your recipient's responses. And if necessary, add new recipients.